
Images add visual appeal to the content on your site, helping to grab viewer interest and attention. Common image file types are JPEG, PNG and GIF.
Folwell offers six image style variations, including multiple positioning options, for use on your site’s pages.
Usage, Best Practice, and Accessibility
Examples

Left aligned image at 50%
- This style sets the image width to 50% of its containing pane and aligns it left.
- Right and bottom margins are built in so text and other content doesn’t abut the image.
- A caption style has been applied to the text below the image.
Right aligned image at 50%
- This style sets the image width to 50% of its containing pane and aligns it right.
- Left and bottom margins are built in so text and other content doesn’t abut the image.
- A caption style has been applied to the text below the image.
Left aligned image at 33%
- This style sets the image width to be one third, or ~33%, of its containing pane and aligns it left.
- Right and bottom margins are built in so text and other content doesn’t abut the image.
Right aligned image at 33%
- This style sets the image width to be one third, or ~33%, of its containing pane and aligns it right.
- Left and bottom margins are built in so text and other content doesn’t abut the image.
Left aligned image at 20%
- This style sets the image width to 20% of its containing pane and aligns it left.
- Is often used when you want to display an image much smaller than the actual image size.
- Right and bottom margins are built in so text and other content doesn’t abut the image.
Right aligned image at 20%
- This style sets the image width to 20% of its containing pane and aligns it right.
- Is often used when you want to display an image much smaller than the actual image size.
- Left and bottom margins are built in so text and other content doesn’t abut the image.

Left aligned image at actual size
- This style does not adjust the image size, but positions it to be aligned left.
- This style is best used for images smaller than 200 pixels wide. Styles used for larger images would stretch the image and make it pixelated.
- Right and bottom margins are built in so text and other content doesn’t abut the image.
Right aligned image at actual size
- This style does not adjust the image size, but positions it to be aligned right.
- This style is best used for images smaller than 200 pixels wide. Styles used for larger images would stretch the image and make it pixelated.
- Left and bottom margins are built in so text and other content doesn't abut the image.
Full-sized Image

- This style sets the image to be 100% of the full width of its containing pane, minus any padding that the pane may have built into it.
- This style may distort smaller images and make them blurry. It is best used in smaller columns, or with landscape-oriented images.
- Note: High-resolution images take a considerable amount of time to load—it is best to optimize them for the web.
Circle image (made from a square)
- This style can be used in conjunction with other image styles to align the image.
- This style takes a square image and turns it into a circle. It is very important that you crop and save the image as a square for this to work. For best results, it should be paired with a 1:1 ratio square image.
Note: the circle image is designed to have a width of 17.45% of its container, not the full width of its container.
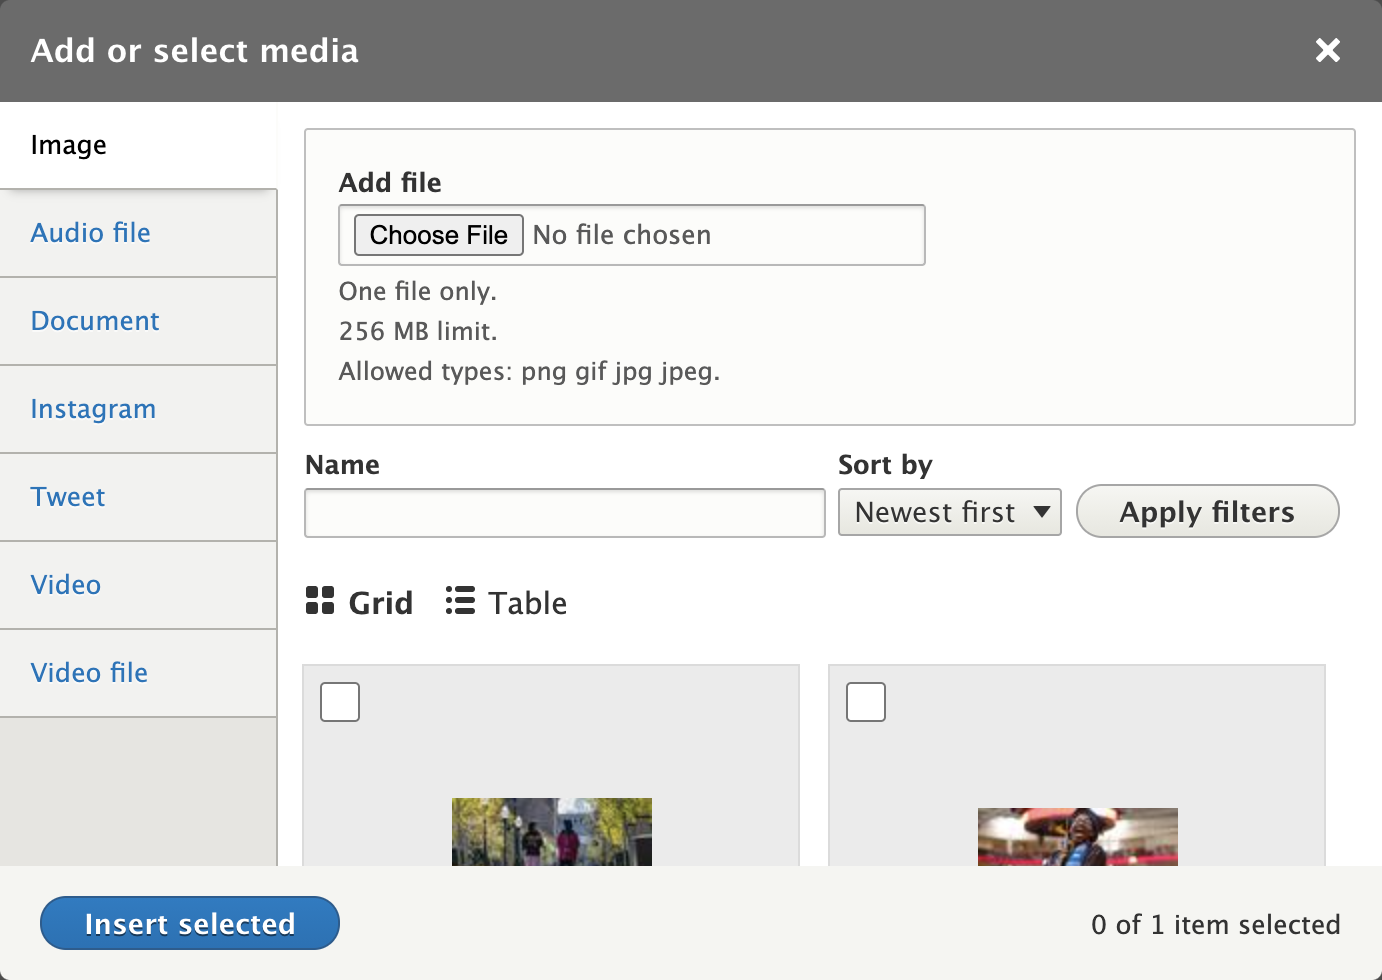
Images are added through the “Media Library” in the WYSIWYG. New images need to be uploaded. Once uploaded to the media library the image can be selected and doesn’t need to be uploaded again.
Click the "Insert from Media Library" icon ![]() in the WYSIWYG toolbar. Select an existing image or upload a new one and click Save.
in the WYSIWYG toolbar. Select an existing image or upload a new one and click Save.
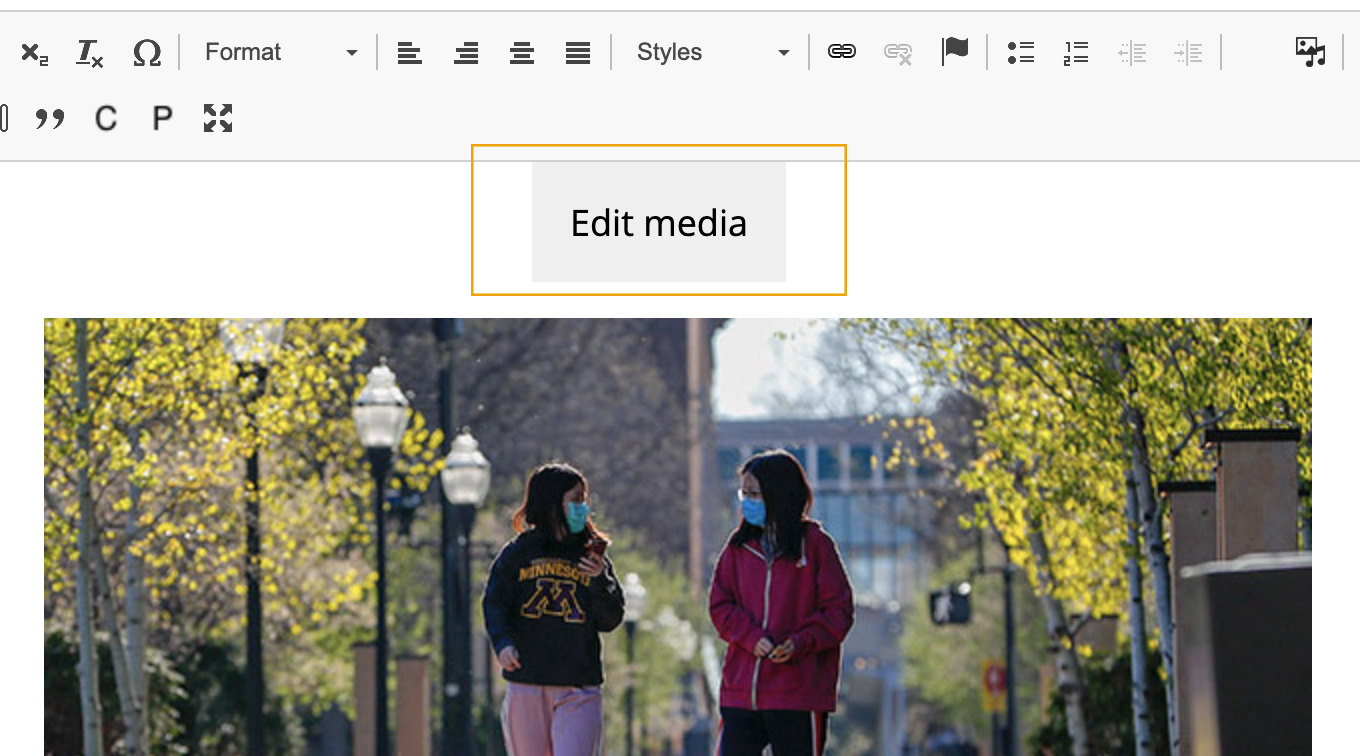
Click the "Edit media" button right above the inserted image and an "Edit media" window will appear with a variety of image options. Select which options should be applied to the image.
-
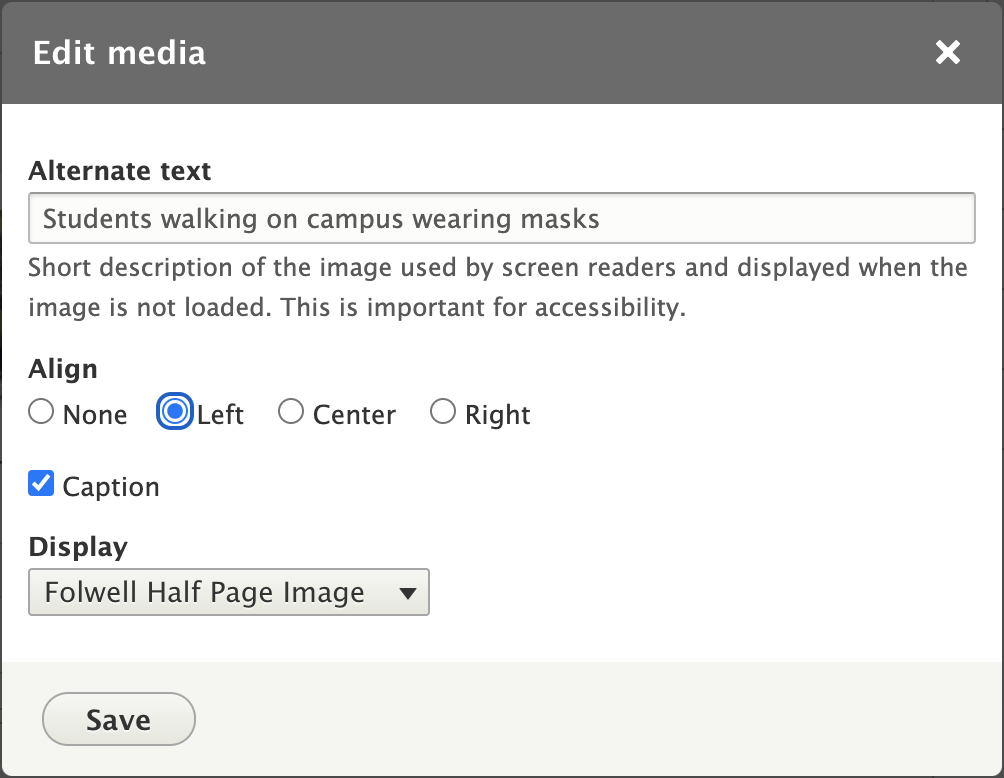
Alternate Text: describes the content of the image. It helps visually impaired users know what is in the image. This is an accessibility standard and is required.
-
Name: the name field is populated with the media file name when the image is uploaded.
-
Align: images can be centered, or floated to the left or right. Select the appropriate option.
-
Display: will automatically resize and/or crop the image to fit specific parameters. From the dropdown select the Folwell image style based on the container where it is placed.
Note:It is best to resize and edit your image outside of Drupal since it is not considered an image editing tool.
-
Caption: a caption can be added to the image. This text will appear below the image on the page.
Note: Drupal has a 128 character limit for image captions. Longer captions will be cut off.
-
Photo Credit: can be added to the image. This text will appear on a separate line below the caption.
To finish inserting your image, click the “Save” button.
Note: There is a bug in the styles dropdown for images. The following instructions will not work until the bug has been fixed.
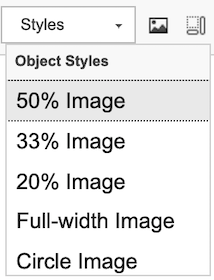
Once the image has been embedded, select the image and use the "styles" dropdown in the WYSIWYG to select the image style based on the container where it is placed.
For example: Selecting "50% image" will adjust the image to display in 50% of the container or column.
- Images should help tell a story, complement your content, or help your audience understand an idea.
- Always ensure you have permission to use the image files you are using, and make sure there isn't a copyright conflict.
- If your site is slow to load, try reducing the file sizes of your images through resizing and compression.
- Naming an image with a meaningful file name is important for good search engine optimization (SEO).
- Images should always be sized appropriately for the web. A small image will distort if it's made larger. A large image can be made to look smaller on a webpage, but should ideally be resized to the size you'd like it to be.
- Unless you have explicit rights to an image, do not edit or modify an image to the degree that it looks like a new image.
- Images must always have an "alt" tag. See the Accessible U website to learn more about the importance of "alt" tags and how to use them.
- Use keywords in the alt-text descriptions that label photos. Meaningful alt-text helps not only with accessibility, but also SEO.
Finding Good Photos
Resources with Free Images
- University of Minnesota Photo and Video Library
- Stock Content Library Free stock images, video, and audio for the University of Minnesota (must be on campus IP address to access)
- University Libraries image collections
- University of Minnesota UMedia Archive
Stock Photos for Purchase
Editing Images
Free Cropping Tools
- Croppola—best used for cropping existing photos/images.
- Canva—This is a good option for creating your own custom graphics. Only need your email address to sign up. It's free if you use your own uploaded images and their free stock graphical elements; otherwise, they are $1 per download if you use their "premium" stock.
- Google Drawings—add to Chrome browser.
Get Consent
Talent Release Form—A "better safe than sorry" approach is recommended. Always get a release form signed for faculty, staff, and students, and in the case of a minor, a parent/guardian must sign.